Chicken Mandu

My plate of mandu

I don’t make the traditional mandu. This was a recipe that I made on the fly, not really knowing what goes into traditional mandu. Mandu is a Korean dumpling, which is generally made with pork or beef and sweet potato noodles. My boys aren’t the biggest fans of pork, so I came up with this recipe when my husband randomly had a craving for mandu and we only had ground chicken on hand. You can deep fry them, which is what I usually do. Though sometimes I steam them, then pan fry them to get a nice texture on them. These made a ton of mandu. Like a ridiculous amount. If you do use this recipe, get help wrapping the mandu or freeze the leftover filling for another time. Just a warning, I’m not the best wrapper. I mainly just do what I can to make sure the filling stays in and that’s all the patience I have, especially after 10 mandu in.

My ingredients.

What You Need

  • 4 big gloves of garlic, minced
  • 3 bulbs of green onions, sliced thin
  • 2 lbs. ground chicken
  • About 1 tsp. sesame oil
  • About 1/2 cup of soy sauce, or to taste
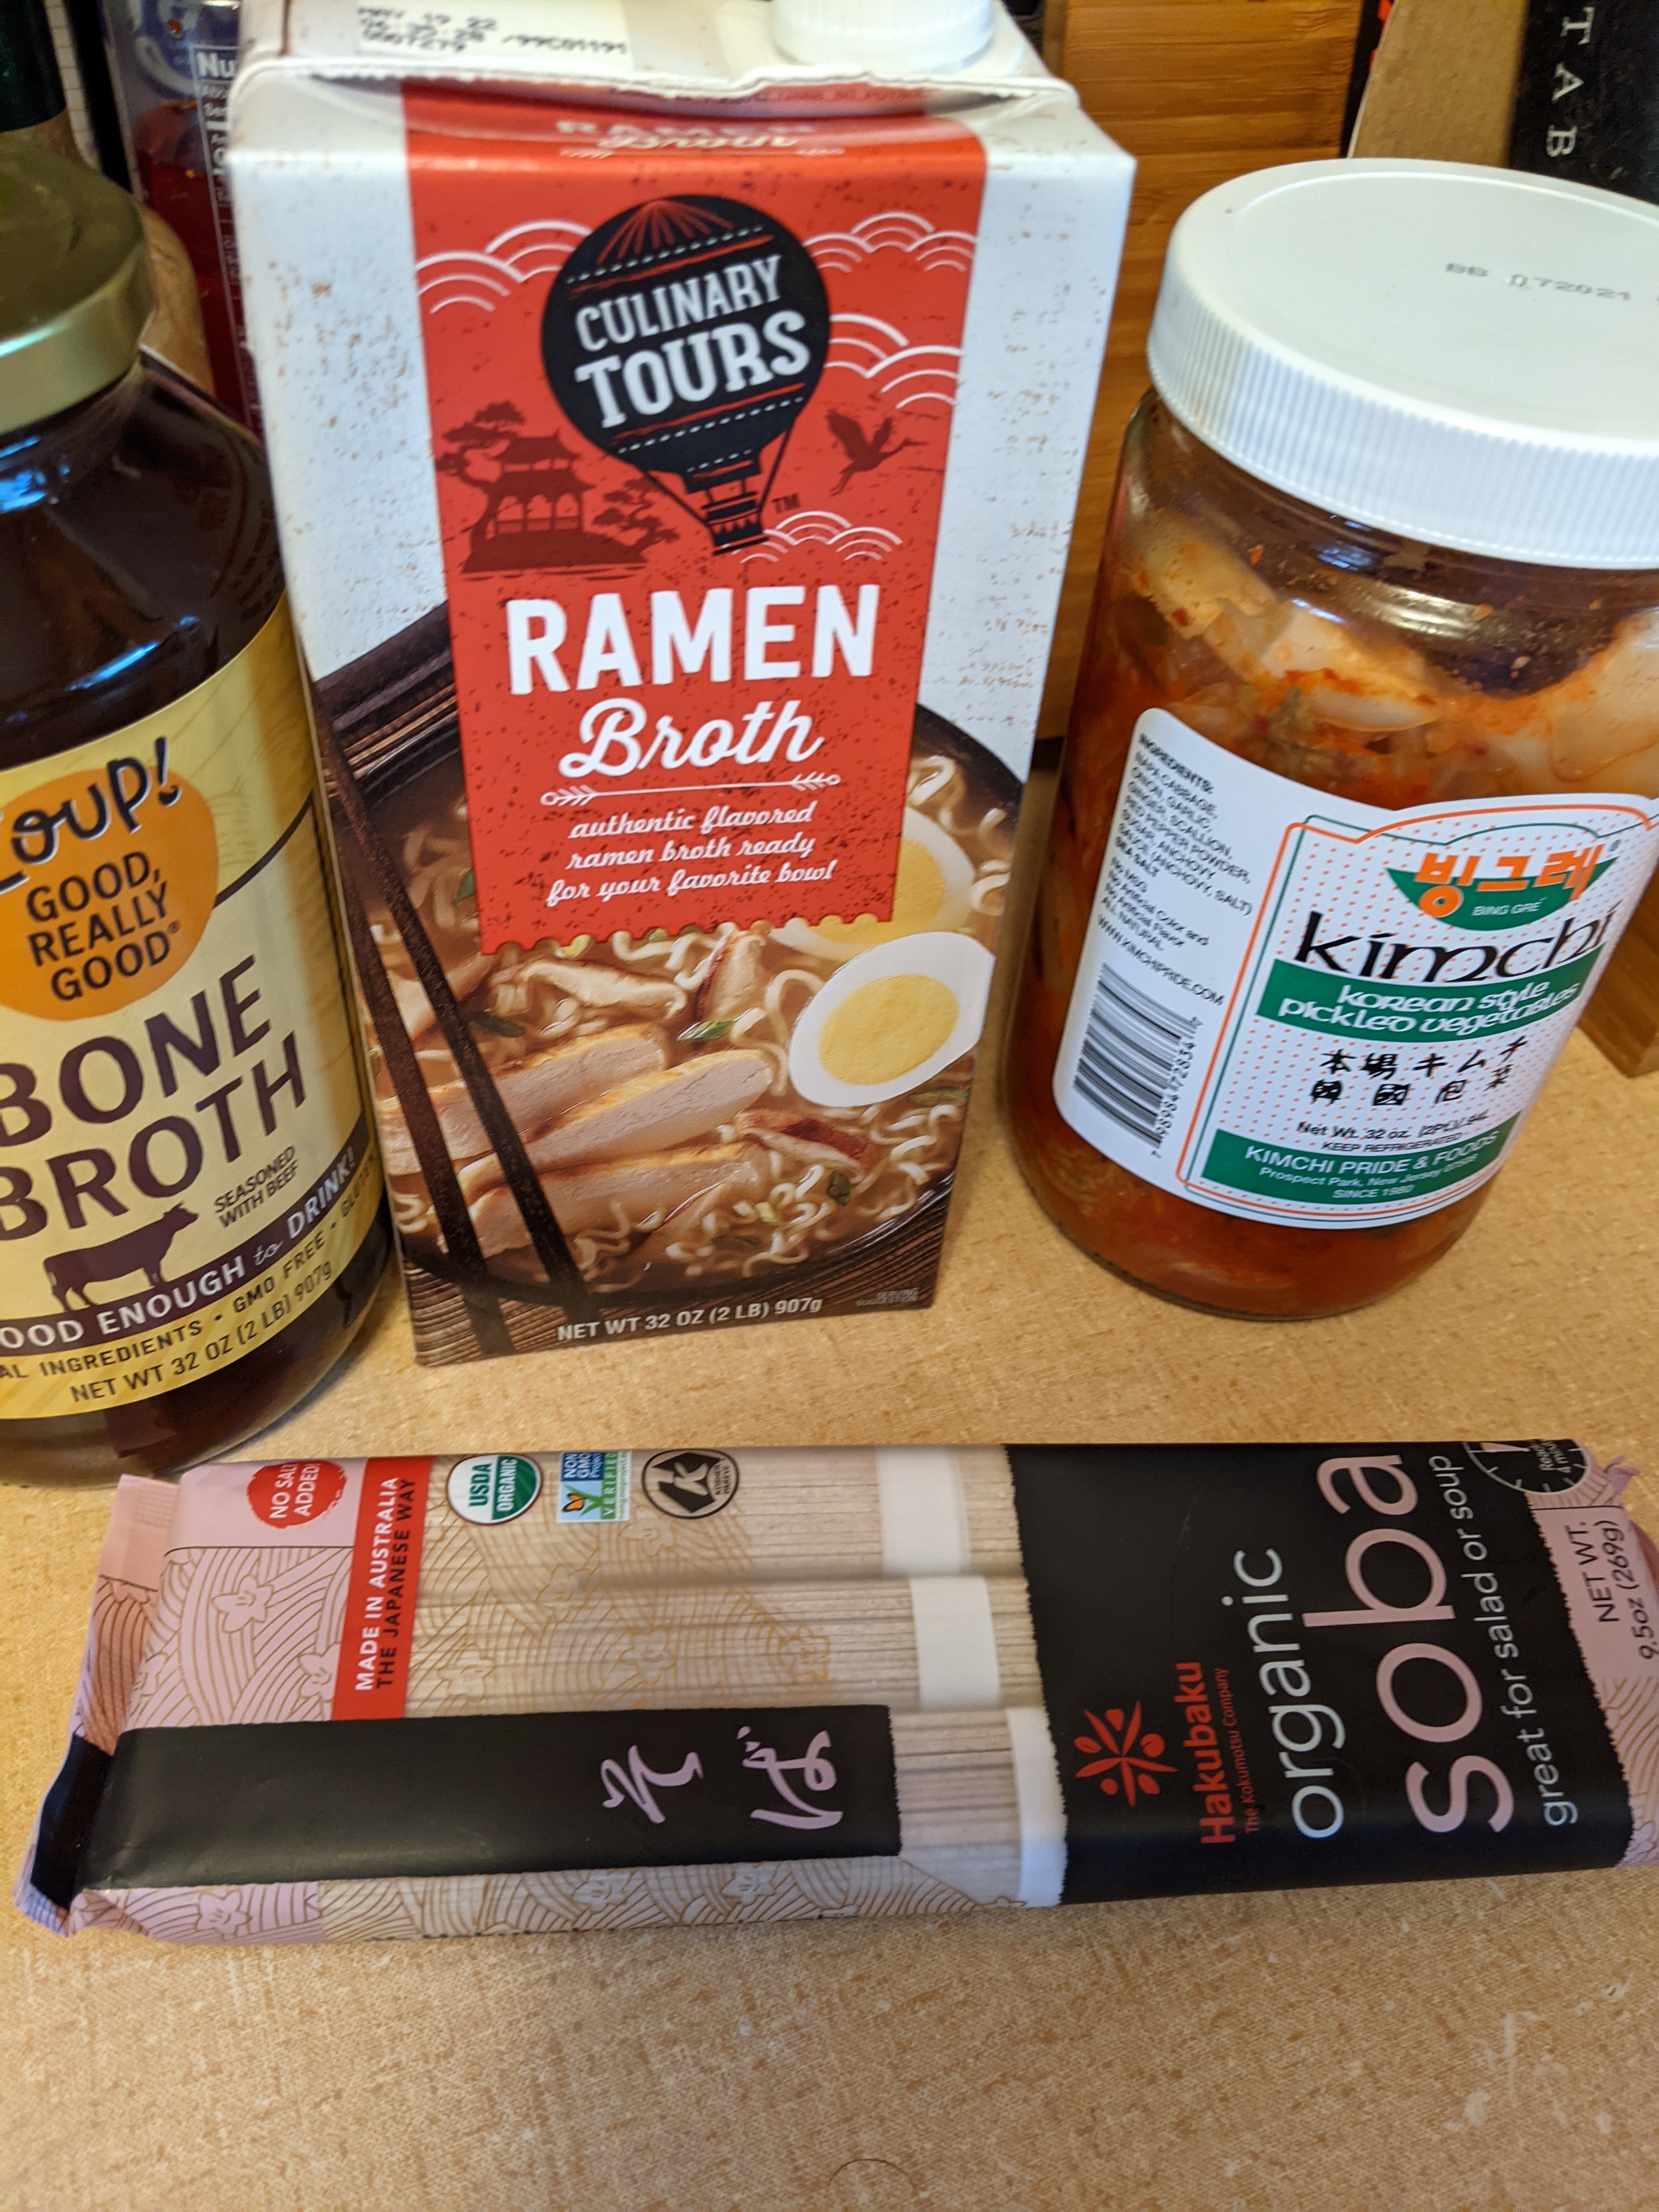
  • Gochugaru (Korean pepper flakes)
  • Homemade mandu wraps, store-bought mandu wraps, or simple wonton wrappers (If making from scratch, I like Maangchi’s recipe.)

Making the Filling

My filling.
  1. Start by preheating your skillet a few minutes before putting the oil in. Then add the sesame oil.
  2. Add ground chicken to pan with the hot oil. Take the time to really make small bites of the chicken, as small as you can. I like to add some salt and pepper while the chicken cooks, about a pinch or two of each.
  3. Once the chicken is cooked, add the minced garlic, soy sauce, and then add about 3 generous pinches of gochugaru. Sometimes I add a bit more of each, depending on taste. Cook all of this together.
  4. Take the chicken mixture off the heat and add the green onions. Mix together.
  5. While the mixture is cooling a bit, you can start rolling out your mandu wrappers as in the instructions if you use the recipe above for homemade wrappers.
  6. If using store-bought wrappers, they usually come with great picture instructions on the back to show you how to properly roll them.
  7. Once you roll them out, you can cook them as you wish. We typically fry them in 350°F vegetable oil. If you want to steam them, put a little layer of water in the bottom of the skillet (I usually just rinse out my filling skillet to use), then add the mandu and cover for about 5 minutes. Then after steaming them, I put them back in a pan with olive oil and get a nice crust on them.

What I like about mandu is that they are really a family affair. Usually my oldest son will help me roll them out. This is a great moment to talk and connect with people. My husband, since I’m a bit of an accident-prone person, tends to fry the mandu for me. We talk about our days while he fries them. Then they get served in our house family style with jasmine rice in our house, dipped in either plain soy sauce or a soy sauce/gochujang mixture. We sit around casually eating these until our stomach hurts. Sometimes longer.

BluishOblivion Goes Cooking: Kimchi Ramen

For a long time, friends on my Facebook have asked for recipes or advice on cooking. Some have even suggested YouTube videos. While I may not be as impressed by my cooking as they are (and my family), I figured I’d oblige. After posing the question on Facebook, it turns out ramen was the way to go. In this case, kimchi ramen. So my once a month recipe share is a take on my usual ramen recipe.

Before getting started, there are a few things that I’d like to point out. First of all, I normally make my own bone broth from scratch using veggie scraps and whatever bones on sale at the local meat store. This also doesn’t have a lot veggies (just used bamboo shoots and water chestnuts) and I’ve limited ingredients to accommodate an easier on the stomach ramen, which is why I didn’t make my own broth as usual. This isn’t perfect fodmap as it does have some garlic and onions in the ramen broth and kimchi. You can also use whatever noodles that you want. I usually use different noodles depending on what my boys are feeling since I don’t eat ramen. This week, we opted for soba. Another point is that when I can find ramen base at the store, I get that as well for a deeper flavor. Lastly, this is really just a base. You can add whatever you want to it to make it great for your family. My husband added some extra vinegar while my son added more chili oil.

the basics

You’ll need:

  • Eggs (if you like soft boiled eggs in ramen)
  • 32 oz. bone broth (I used beef, but you can use any bone broth)
  • 32 oz. ramen broth
  • Kimchi
  • Soy sauce
  • Sesame oil
  • Chili oil (optional)

To start with, I boil the water in a sauce pan for my eggs. Once the water is boiled, I use a slotted spoon to carefully place the eggs in the water. Cover, reduce the heat to medium so that it stays boiling, then set the timer for 6 minutes. While the eggs are cooking, I take a bowl and set it aside for the eggs. When the eggs are done, I take the slotted spoon and place the eggs into the bowl. Then I run cold water on it until the water stays cold and shut the water off. (Ice bath is for people who actually have ice on hand.) I let the eggs sit in the bowl and use the same pan for my noodles. I add enough water to fill more than half the pan and re-boil the water.

chopped kimchi

Next, I open up the broths (bone and ramen broths, and ramen base if you have it) and pour them into a larger pot. Let heat up while you open/prep your veggies. (I use canned Asian veggies for easier cooking) Then I grab about a handful of kimchi, dice it up into chunks, then add it to the broth. I then take a couple of tablespoons of the kimchi brine as well. Mix everything together until it cooks. Taste it, and add about a cup of soy sauce and a teaspoon of sesame oil for extra flavor.

gooey soft boiled eggs

While your noodles are finishing cooking, start to crack your eggs. Don’t cut them until they are about to go in the soup or use them as a topper for your bowl of ramen.

Strain and rinse the noodles, then add the noodles to the broth. Add chili oil to taste.

The finished product.

And el fin. Ramen.

Again, I emphasize that this is to taste. This was more on the bland side to stick as closely as I could to my husband’s low fodmap diet. It isn’t perfect because it does have garlic and onion in both the kimchi and the ramen broth. But I did what I could to limit it.